
How to transfer photos from iPhone or Samsung to a flash drive
One of the most common questions I get is about managing storage on iPhones, just like this email from Rosita in Upland:
"Hi Rich, I’m seeking your expertise. I have an iPhone 15 that I need to free up some storage. I don’t want to purchase a monthly subscription. I was looking for a device that I can transfer to. There are so many options; I’d like your advice on which one to purchase. Thanks a bunch, Rosita."
Photos and videos are notorious for gobbling up your phone's precious free space.
Post may contain affiliate links.
Cloud storage is often the easiest solution. You can upload your media to services like iCloud and use the "Optimize iPhone Storage" option. This keeps full-resolution photos in the cloud while saving space on your device with smaller versions.
Other great options include Google Photos, which uploads your pictures to the cloud, allowing you to safely delete them from your phone.
Amazon Photos offers free unlimited photo storage for Prime subscribers, though remember that unlimited storage applies only to photos, not videos.
However, many of you tell me you'd prefer not to pay for cloud storage and want to transfer your photos to something like a USB flash drive. So, here's how you can do exactly that. This method works both for backing up your photos without a monthly fee and for offloading them to a flash drive before deleting them from your phone.
Below are instructions for both iPhone and Samsung.
What You'll Need
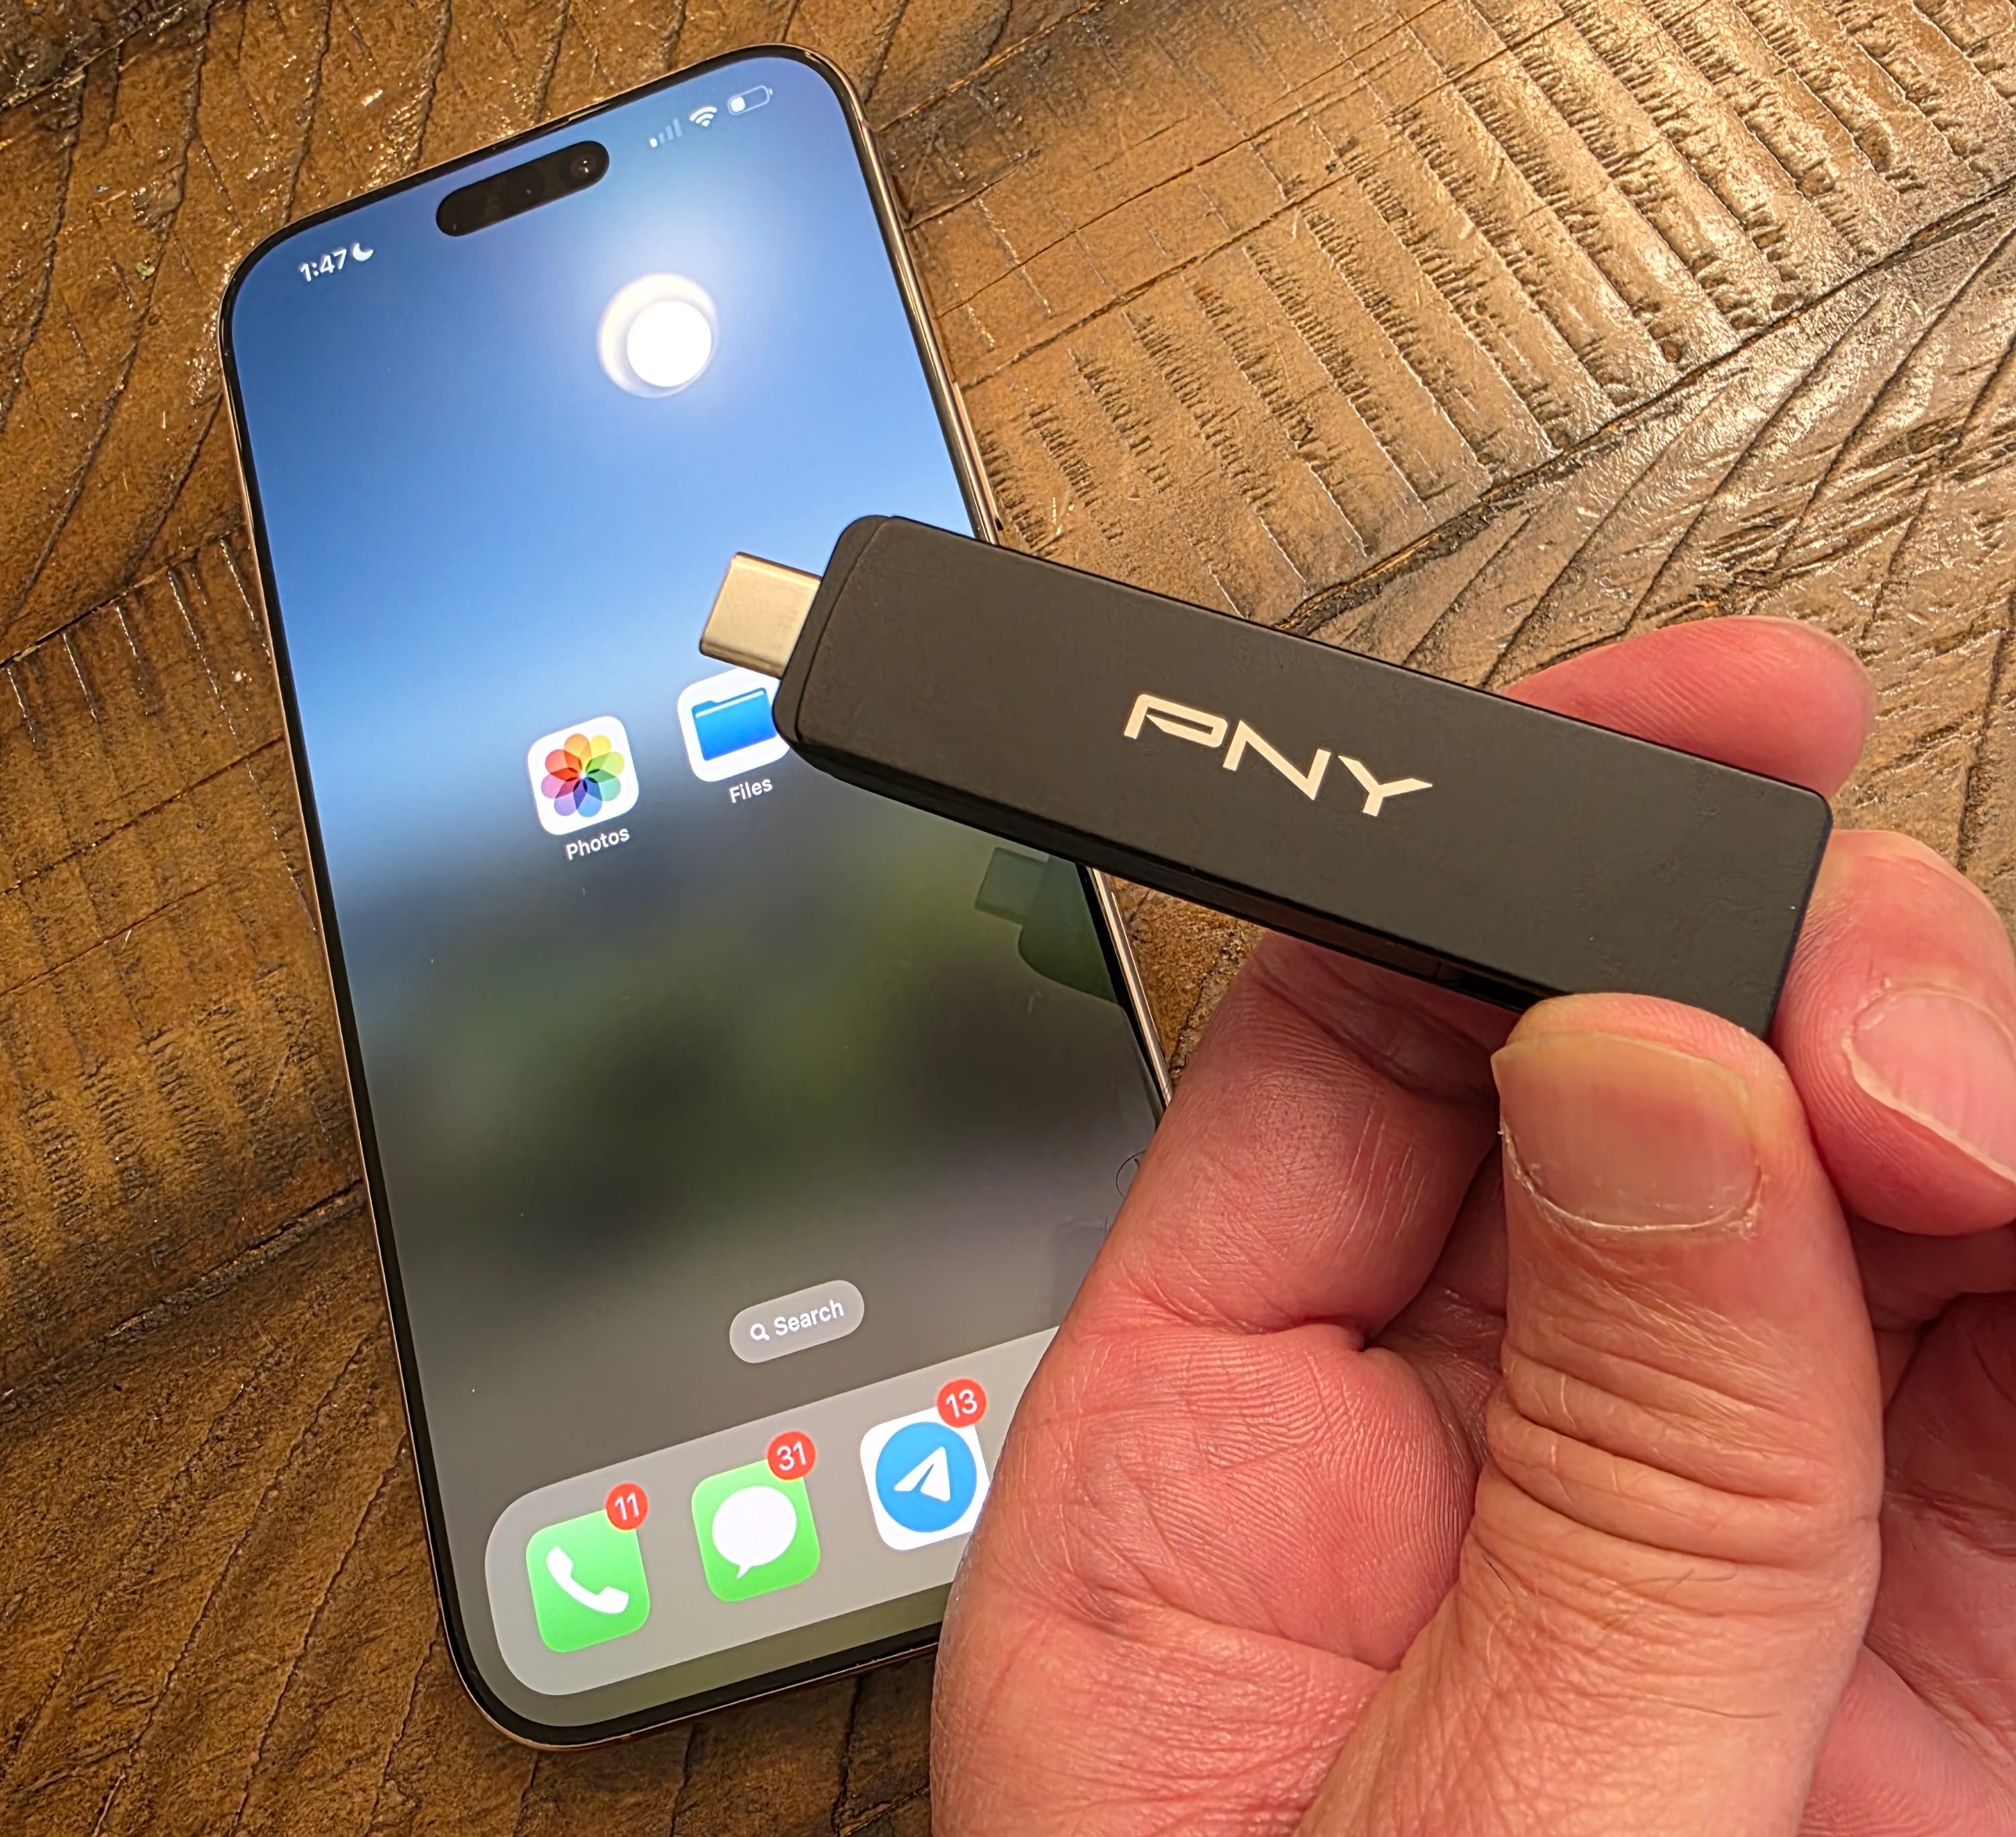
The first thing you'll need is a flash drive. If you have an iPhone 15 or later, any USB-C flash drive will work. For older iPhones, you'll need a Lightning drive.
I've tested several of these, and for speed, especially when dealing with a lot of pictures, you'll want a fast one. I used the latest PNY Duo Link V3 USB 3.2 Gen 2 Type-C OTG Flash Drive for my testing. It has a USB-C connector on one end and a traditional USB-A on the other, meaning it can connect to pretty much any recent phone or computer. Plus, it offers storage capacities from 256GB up to 2TB and has super fast transfer speeds! Another option is the SanDisk iXpand, which uses a Lightning connector (though it won't be as fast for transfers). Really, you can use any flash drive your iPhone recognizes.
How to Copy Your Photos from iPhone to Flash Drive
Insert the flash drive into the bottom of your iPhone.
Open the Photos app and select the pictures you wish to transfer. You can choose just a few or hundreds at once.
Tap the Share icon in the lower-left corner (it looks like an arrow pointing out of a box).
Choose "Export Unmodified Originals" and make sure your flash drive is selected as the destination.
Tap Save in the upper-right corner.
That's all there is to it! Your photos are now on your flash drive.
How to Copy Your Photos from Samsung to a Flash Drive
Plug in your flash drive
Use a USB-C flash drive like the PNY DUO Link and connect it directly to the bottom of your Samsung phone.
Open the My Files app
Find and open the built-in Samsung My Files app.
Select the photos you want to copy
Go to Images, tap Select, choose the ones you want (or tap All), then tap Copy.
Choose your flash drive as the destination
Tap USB storage, create a new folder if desired, then tap Copy here.
Repeat for videos
Go to the Videos section in My Files and follow the same steps to copy them to your flash drive.
Safely unmount your flash drive
Before removing it, tap the USB drive name in My Files, then select Unmount to prevent data loss.
A Quick Word of Caution
If you plan on deleting the photos from your phone after copying them, I strongly recommend having them backed up in at least one additional location besides just the external flash drive. This protects you in case the flash drive gets erased, corrupted, or lost.
Here are videos detailing the entire process!
iPhone:
Samsung: